
Another problem that I encountered today was in the material editor. All of the locations of the bitmaps for my materials could not be found, so I had to re-locate all of these for the main bitmap and for the bump bitmap, so that all of the materials look the same as before.

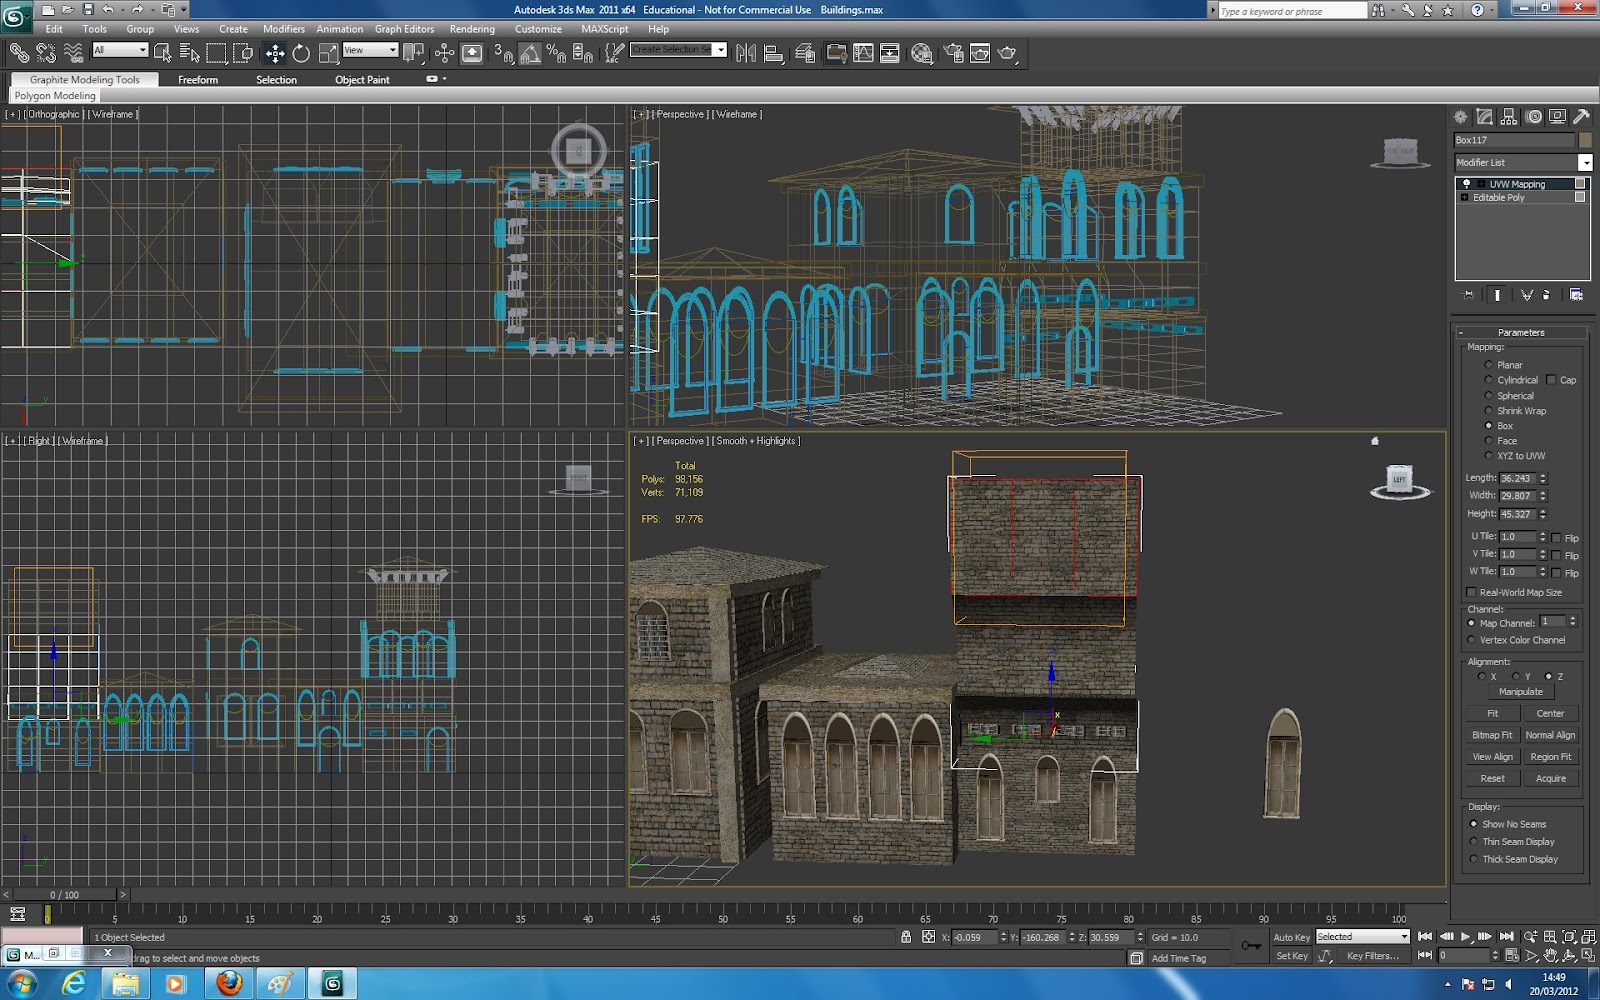
My next task has been too adjust the brickwork so that all the different boxes and other shapes that I have made are consistent with each other in terms of textures. As some of the brickwork has been coming up slightly different sizes, I have made note of the exact measurements of length, width and height and am inputting the numbers to the needed sections, using the UVW Mapping tool. The majority of the mapping has been using box mapping, but certain parts have required the alignment to be changed. Although this detail may not be the most noticeable thing during the animation, I would prefer it all to be correct to make the animation seem more realistic.

For the brickwork on some of the roofs, UVW Mapping has once again been applied, but the parameters have been changed so that there is no distorting the image. Also, Cylindrical Mapping has been used so that the brickwork is in the right position, rather than all of the bricks simply going in the same direction. I may look for some more slightly varied brick textures for the roofs, however, the problems that I found before were either that the angle the photo was taken was not efficient to create a texture from, of that the image was watermarked and required a payment to get the un-watermarked image. If this is the case again, I can edit the existing images that I have in Photoshop, just to vary the texture and colour settings slightly.
No comments:
Post a Comment