Sunday 29 April 2012

Creating Fire

For the final part of this scene, I have been making a small fire, which will eventually spread and grow bigger in the next scene. A super spray has been used again, but with slightly different settings to the smoke. Mesh particles have been used again so that it can be seen what the fire looks like and for the particles to be facing. I have changed all of the paticles on my other super sprays to facing because no matter how you look at the super spray, you will always be able to see the fire particles as they were meant to be.


The rotation and collision drop-down in the modify panel has had its settings slightly changed for the fire. Although I originally used an online tutorial to create smoke and to generally get the settings needed for the super spray, through making smoke a couple of times I have learnt what the settings are and how they effect the spray. So now that I am creating the fire, I have managed to guess by looking at the settings what digits roughly I need to input to get the desired effect.

For the rotation and collision tab, the variation option is particularly useful for fire. When playing through the fire on the timeline, each time the particles move and change, they never do so in exactly the same way, just like real fire. The particles also spin in 180 desgrees, once again adding realism to the fire.

The frame settings have been adjusted so that the fire starts growing when the smoke has been growing for a few frames, then it suddenly grows bigger and brighter. The amount of frames it grows for should be about 20, but this may be changed later, as well as when the fire ends.


To create the material for the fire, a face map and gradient has been used. This allows for multiple colours to be shown in the fire. Orange and yellow have been used because although many people think that fires have red parts, you can never really see red in a flame.

The texture has had it's glossiness decreased and its opacity increased and the diffuse colour changed. The diffuse setting has been set slightly higher as well.

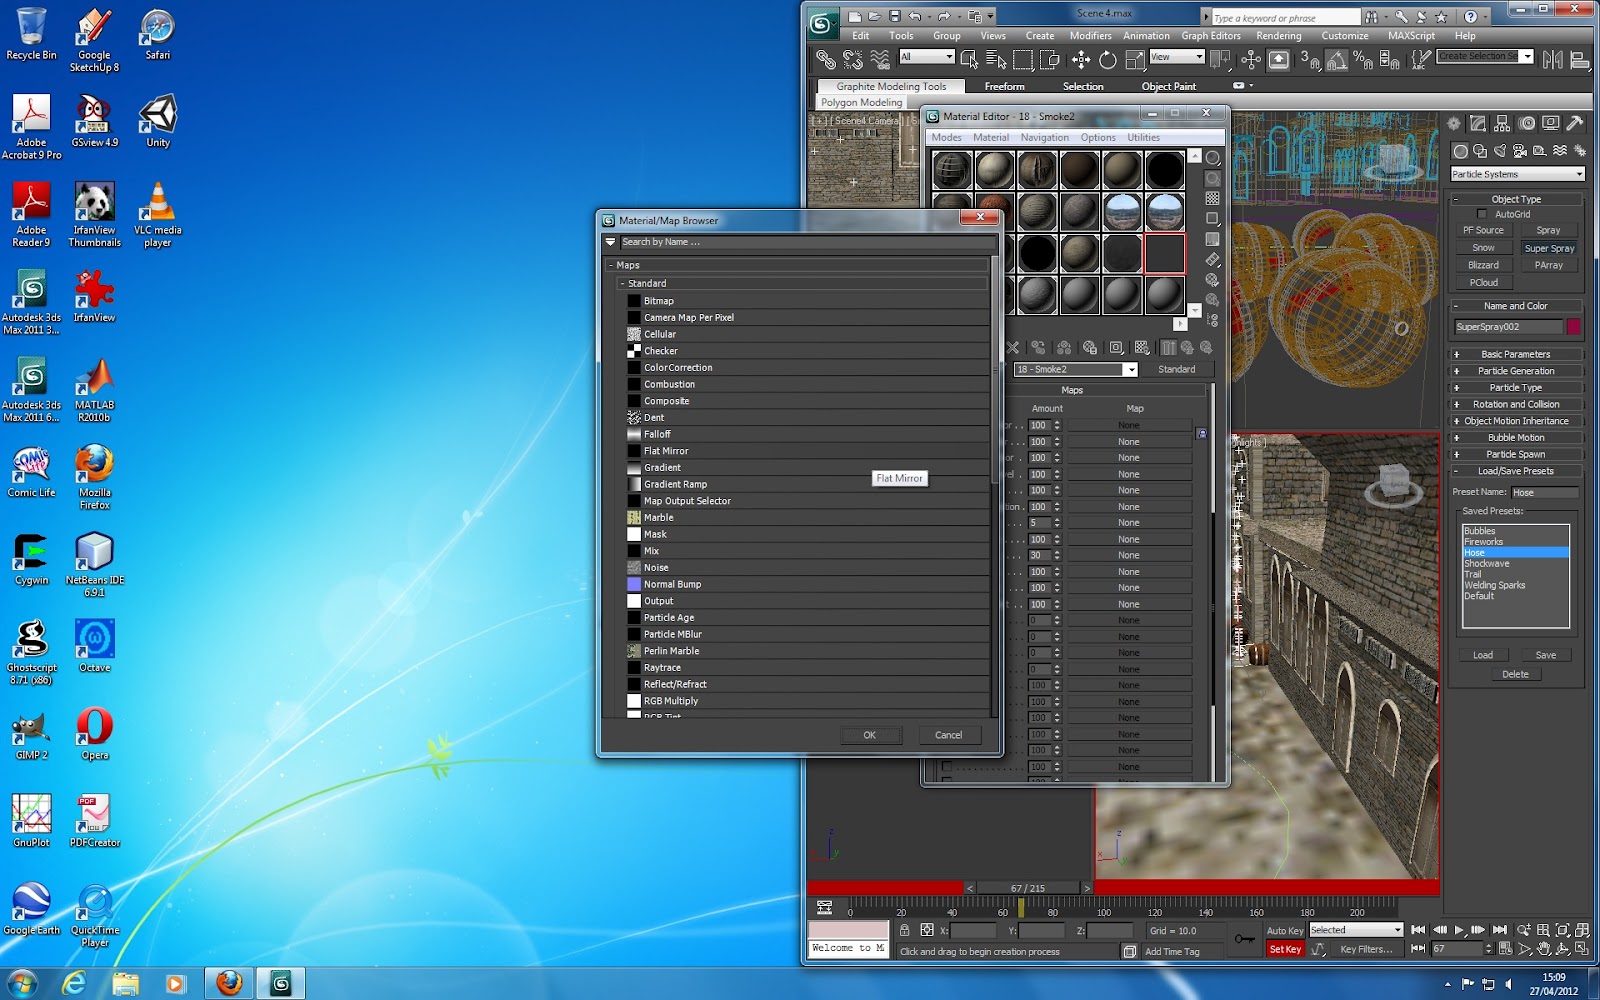
The gradient type has also been adjusted to radial and noise has been added to make the fire look more realistic. These settings make the particles look more vivid and separated, instead of just a chunk of particles put together. Like when noise was added to the floor texture, the texture itself looks more rough and 3D.


Here is the final result of the fire when it gets going. It can be seen how the particles have been adjusted so that it looks more like the burning embers of a fire, compared to the smoke where the particles are more transparent and merge together.

Friday 27 April 2012

Reactor


For my fourth scene, the main focus is the barrels being knocked over by the tank and starting to ignite. To make the barrels fall over on impact from another object, the reactor tool has been used, as well as the curve editor, to give the effect of the barrels falling over and gravity affecting the speed/way that they fall.
I have made the barrels fall in all different directions depending on where the tank impacts on the barrels. I have tried to vividly imagine this and have put a lot of thought into how the movement would look if it was really happening. The curve editor has helped with the visualisation too and has allowed me to get all of the movements more precise than just simply using the timeline.
The camera used is a 200mm, so that the view is very close-up of the tank and the barrels. However, because of how effective the barrels look when they fall and roll around on the ground, I may change the angle of the camera so that more of the scene can be captured. Although I chose a close-up front view for the storyboard, as it doesn't seem to show as much detail as I would like, I may change this later on when the smoke and fire have been completed.


To make the smoke, another super spray has been used. The settings have been adjusted slightly to make a smaller trail of grey smoke, compared to the big dark smoke cloud that was used for the tank. The colours for the gradient have been adjusted in the material editor to do this, while the settings for the size of the particles etc. have been adjusted in the modify menu. For the next scene, the smoke will gradually increase in size as the fire increases, but for this particular scene, the smoke will remain more or less the same throughout.

Note: I call each different shot - as is seen in my storyboard - a scene because it is much easier to create all of the different camera shots in separate files, as well as minimising the program's crashing rate. It is also a lot easier during the rendering stage, as different machines can be used for each scene.

Thursday 26 April 2012

Rendering Problems

I have been rendering the scenes as I go along and make them, on a seperate computer. When they are finished, the avi. file is not only laggy, but sometimes cuts out frames that I have definitely rendered. I have re-checked the renderer settings several times, changed minimal things, got help from peers and still the files aren't working properly. I am not the only one with this problem but as the end of semester grows nearer it is worrying that I may run out of time. So if anyone else who may read this has any suggestions please let me know.

Edit: Found out that running the files off the desktop is necessary due to the large file size. Even when importing into Premiere this needs to be done. However, have adjusted the render from mental ray to the standard scanline, as the files that I have rendered this way in HDTV 1280x720 have been less likely to be corrupt, as even some renders in the mental ray renderer have been corrupting.

Wednesday 25 April 2012

Path Constraint

For the third camera that I am using (and technically my third short scene), the tank spirals out of control, spinning around while it moves and still emitting lots of thick dark smoke around the scene in all directions as it moves. This camera shows the tank from a high angle, using a standard lens (as has been done in all of the other scenes) so that everything can be captured. A path constraint has been made for the tank to follow, in which it spins around at varying angles every few frames, and occassionally even changes the direction on the path that it is spinning. The speed that the tank is going varies as it goes around the path. The smoke will also be following the path and the tank, but as the tank is spinning, the smoke will also be spiralling in many directions and will be left trailing behind the tank until the particles disappear into the air.

Particle Super Spray

To make the smoke that is going to be emitting from my tank as it starts to malfunction, I have been using a particle system with a super spray. Using a tutorial that I found online to make cigarette smoke (which I practised using the super spray with) as a basis for what to do now, I have been modifying the settings to create the smoke. As can be seen by the render, the smoke originally started as a fairly thin and transparent smoke, but I wanted it to become thick and black like the smoke that would come out of an engine. To adjust this, the speed and variation has been increased, as well as the material colours.
To create the colours in the smoke, a gradient has been used to create three colours for the smoke to change, to show it thickening. The particle timining has been adjusted so that it appears and disappears in the frames that I want it to. The particle size has been increased and a particle pre-set used to get the desired effect.

Because the tank is going to moving and spinning about in lots of directions to show it malfunctioning, there was no need to use the drag and wind techniques that I learned from doing the cigarette smoke tutorial, as the smoke is linked together with the tank and the smoke trailed behind the tank as it moved and spun around, eventually fading.


The smoke has been assigned to the gap in between the pieces of wood in the part where the door opens and closes. Originally it was going to seep out through the peep hole, but the smoke emerging from the gaps around the door had a better effect. The smoke emerges thin and gradually at first, but it gathers speed quickly, getting thicker as it comes out of the tank. The smoke has been made to move in the way that it does by loading up one of the presets.


This render shows the thickness, colours and the particle size of the tank's smoke. The background appears white as it has been frozen for the whole creation of the animation process, so that it cannot accidentally be selected and moved. Now that the tank has been finished along with the moving smoke, the camera has a gradual zoom-in as the tank malfunctions and spins out of the scene ready for the next camera to view it from a different angle.

Finalised Lighting


The lighting has finally been adjusted to what I want it to be. I discarded the daylight system, due to the washed out effect that it gave all my buildings, which erased all of the detail of the texturing. It has been replaced with an omni light, which is positioned high above the scenery, like the sun would be at about midday. To create some softer shadows, another omni light has been included just behind the camera to give the other buildings some more light and to dull down some of the harsher shadows.
There was some problems with the lighting where the floor was concerned: the floor was either appearing washed out or was not being illuminated at all - just replaced with the background colour. To combat this issue, the floor was re-made and scaled down, with some extra noise added to create bumps and make it look more realistic and un-even.
I started off using just a skylight at a high point in the sky above the scene to be seen as a sun, but this did not give the type of overcast conditions that I was looking for and for a standard 12pm day in the summer, so the omni lights were tested and gave the desired effect.

Thursday 19 April 2012

Rendering

I have tried rendering my scene so far, just to see what it looks like, and for only 180 frames it is taking a very long time, compared to the modelling part, to render. Because of this, I am going to speed up the amount of time left to animate and try to leave a week for rendering alone. To hopefully make the process a bit quicker, I will render the scenes seperately (maybe 100 frames at a time in the range panel) then save them with appropriate names, so that they can then be pieced together in Adobe Premiere or After Effects. This will not only save time, but as the labs in university aren't open all the time, this seems to be the only way for me to do the scene.

Tuesday 17 April 2012

Camera Movement

I have now begun the filming of my animation using a simple free camera to begin with. I have been careful to make sure that the positioning of the camera does not give away the illusion of the scene (by filming the top of the background images, for example) and before the objects are going to begin moving, I have started by using a sweeping camera movement to set the scene.
The camera is being viewed in the top left-hand view, so that it can be seen what the scene looks like through the camera lens. I have started off with a high angled shot, which sweeps down to a long, straight-on shot by frame 150, then zooms in slightly on the next 20 or so frames, which is when the relevant movemnt will begin.
As I currently have a good visual in my mind of how the cameras are going to work (I thought it out quite thoroughly in my mind during the pre-production stage, mainly when the storyboard was being created), but if I find that it is needed later on, I will write or draw what camera angles and movements need to be used to give the effects that I want for the scene.
When I begin to animate the tank, to get more of an idea of how the tank moves usually, I have been watching videos on youtube to try and see which parts move how, so that when the tank spirals out of control later on I can make it as historically accurate as possible. One useful one that I have found today is from Assassins Creed Brotherhood:
http://www.youtube.com/watch?v=Txb6haeNvgc
It helps that I have played the game, but with never really analysing how the tank moves, I can now look at videos to remind myself. To animate this, I have been grouping and ungrouping sections of the tank so that when it needs to be animated, if certain parts just need to be adjusted, it can easily be done using this tool.

With the tank, I have been using isolation mode for editing certain parts. With the door starting off open and then needing to be closed, it begins as being a seperate group to the tank, then after the animating of the door, will be grouped back together with the rest of the tank. The metal parts of the door that are holding it open are the same: they are a seperate part until they retreat back into the interior of the tank, which is when they become part of the big group again. So far, the tank is spinning slowly, then, as the camera reaches it, the tank's door begins to close. The tank stops spinning and the door is completely closed.

Lighting Adjustments

As the rendering for the scenery is something that I am not 100% happy with, I have decided to try and modify this, as to show more detail in my buildings. When modelling and animating the scenery, the detail in the textures of the buildings is exactly as the bitmaps are, including the colour and bumps. But when it is rendered with the current daylight settings, all of the detail of the buildings and the floor seems to be virtually removed, due to being dazzled in light. As I want my render to allow my textures and scenery to look as similar as possible to what it looks like when I am in the creation stage, the lighting and rendering settings will be reviewed once the animation is completely finished, to see what works best with the camera angles, movement etc.
For now, what I have done is adjusted the self-illumination of my textures that provide the background imagery. As these are simply background images, that shouldn't be affected by my lighting anyway, under the self-illumination tab on the material editor, I have raised the colour to 100. This way, these parts no longer need to be worried about for affecting the lighting of the rest of the scene, such as when one side is covered in shadow.
I will continue to do some research into lighting techniques so that when the animation is complete, I can make the lighting as realistic as possible, but still with detail. I have been reading some books over the break about 3DS Max animation and cameras in general, so I will now continue onto lighting, as I feel this to be one of my weaknesses at the moment in the program.